A Brew in the Life - Enchantress (Irish Red)
After my recent forays into the hoppier side of life, I decided that it was time to circle back to my roots and brew something maltier. After kicking it around for a bit, it occurred to me that it had been far too long since I'd had a supply of my Enchantress (a big Irish red) on hand. I'd be lying if I pretended that the fact that the timing was just perfect (this beer should be ready to drink a day or two before St. Patrick's Day) didn't enter into the equation at all.
Enchantress holds a special place in my heart, as this was the first recipe I ever designed. Back then, it started out as a partial mash, and it has evolved a bit over time. I was very happy with the last incarnation of the beer, save one small item - it had a brick red color, where I would really prefer for it to be more of a vibrant red. So naturally, I decided to start fiddling with the process again. This time around, I would completely remove the small amount of carafa III special I had used in the past, and instead, up my roasted barley ever so slightly. Also, I settled on the idea of cold steeping that roasted barley in an effort to smooth out the roastiness it might contribute; honestly, I want that beautiful red color from it, but little else.
This past Christmas, I got a couple of two gallon fermentation buckets. So far, I have used them for small batch stuff, but I had made up my mind that going forward, I wanted to do split batching for pretty much every brewday. After all, it is literally no more effort to brew an extra gallon or so, and gives a great chance to experiment with small changes that would otherwise require another complete brew. However, I couldn't seem to settle on a good idea for splitting this batch.
I toyed with the idea of a different yeast strain - perhaps WLP028 (Scottish ale), or one of the English strains - to contrast with my reliable WLP004 Irish ale, but the idea just didn't appeal to me very much. This beer is not dry hopped, so there was nothing to do there... though I suppose that I could have dry hopped just to see if I enjoyed it. I fielded some suggestions on the forums and the charter member email list, but they largely centered around different boil processes (different hopping schedules, cold steep versus traditional mash, etc), and I'm just not set up to do two boils right now.
Finally, a simple, obvious choice jumped out at me - why not ferment the two at different temperatures? You may have read the recent Brulosophy exBEERiment where Marshall did just this with WLP029 (Kolsch) yeast, and found that the differences were almost nil. One of my biggest concerns about that one was that Kolsch yeast is, by definition, quite clean. While WLP004 isn't necessarily the biggest ester bomb in the world, it is still a more expressive strain; this just seemed like a great fit. Therefore, my mind was made up - I would split this batch, and in doing so, perform the very first Homebrew Dad exBEERiment.
Before I go much farther, please note something - Marshall does a great job in applying scientific rigor to his experiments. He does his level best to isolate one single variable for testing - otherwise, the beers in question are exactly the same. He'll do a ten gallon batch, divide it evenly into two identical fermentors, and treat them otherwise exactly the same. He then tests his results via blind triangle tests where the testers usually don't even know the nature of the variable they are testing.
I, on the other hand, am a hack. I bumped this batch size up to seven gallons; my normal five and a half gallons would go into a glass carboy, to be placed in my fermentation chamber (mini fridge with an STC-1000 temperature controller) set to 65 degrees F. The other gallon and a half would go into one of my two gallon plastic buckets, where I would place it in a bathroom that normally sits at 68 degrees F to 70 degrees F ambient temperature, which should allow actual fermentation temperatures to fluctuate between, say, 72 degrees F and 76 degrees F (or so). I may well be the only person that tastes these beers, though I will at least get my son to pour them for me so that I don't know which is which.
That's it. Yes, fermentor construction and geometry are different. It shouldn't matter, but who knows? It might affect things. There are surely other concerns - how will I ensure the same level of aeration, how will I ensure the same levels of trub, and surely other items I haven't thought of. Furthermore, you'll only get my opinion, which is far from statistically significant. In reality, the best that I can hope for is to provide a single data point - but I'm hoping that if we collect enough of these, we'll be able to make better determinations on this issue in the future.
Enough of my rambling, let's get to the brewday itself!
Saturday night, I realized that I was already well on my way to a typical Olan brewday; I had forgotten to cold steep my roasted barley. Whoops. Fortunately, this was a simple process; I ended up using a quart of ~90 degree water for my five ounces of roasted barley (which is a bit more water than I needed, I know). I treated this with pinch of campden dust, then stirred the grains in. The process yielded muddy brown water that smelled remarkably like coffee. I sealed the bucket and sat it to the side.
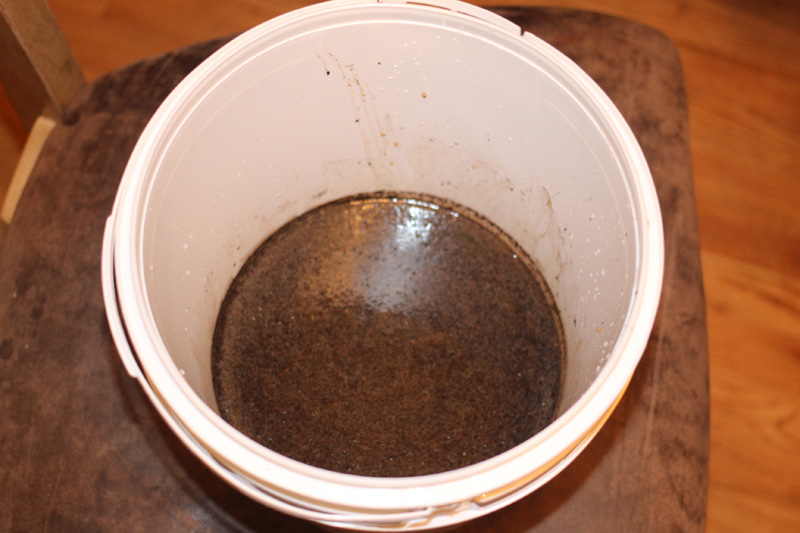
Looks delicious.
It was then time to cold crash my starter. The 5l flask does not fit in my new yeast fridge (a 1.3 cubic foot model), and my wife would likely end me if I tried to cram that thing into the main fridge. I can fit it into my fermentation fridge in the basement, but I am trying (likely for no reason but my questionable sanity) to segregate all of my yeast activities to the one designated fridge.
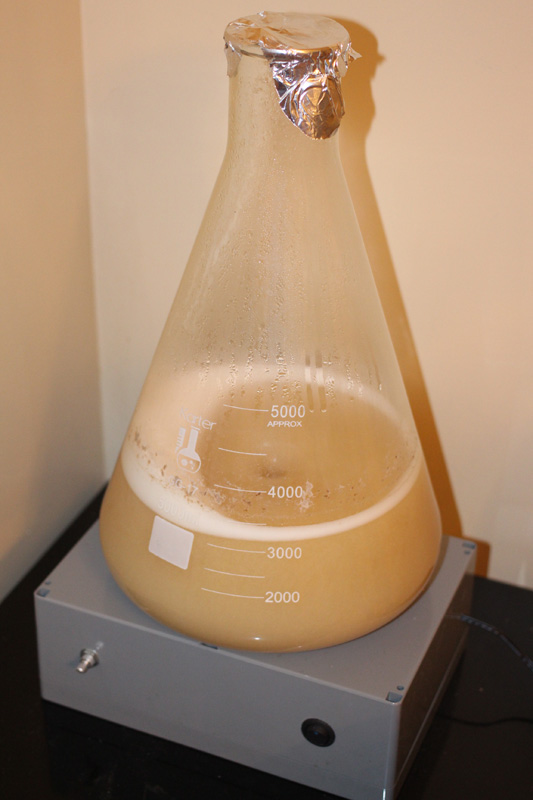
Size does matter.
However, I had a solution discovered back when I was helping my son with his science project - 2 liter soda bottles are great for yeast storage while chilling. Since my starter was a hair over 3 liters, I went ahead and sanitized two such bottles, then divided the yeast between them and stuck them into the mini fridge.
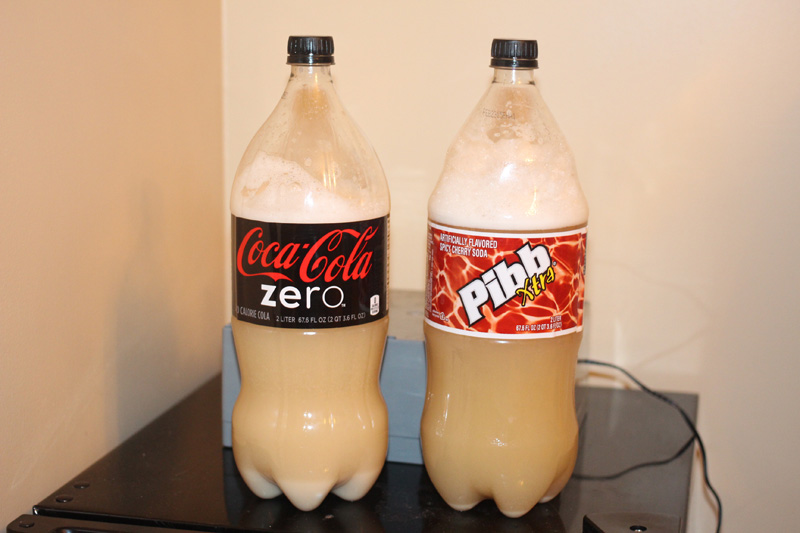
High tech yeast storage.
Sunday came, and my wife left to go meet her sister and mother for lunch, shopping, and assorted girl time. My wife is pretty supportive of my brewing, but hates the smell of it, so she tries to coordinate girl time with brewdays. She had been planning to take miss Wynter (the baby) with her, but the little bundle of joy hadn't woken up by the time my wife needed to leave, and we have learned that waking a sleeping baby unnecessarily is a good way to deal with a crabby baby for a while.
Naturally, the baby was up within ten minutes of my wife leaving. Naturally, the baby was crabby, anyway.
So I put brewing off for a bit to fetch a cup of strawberry milk, grab some toys, and apply some tickles. After a bit, Wynter finally decided that she was okay, so I started bringing my gear upstairs. Wynter helped me organize my box of brewing salts, fining agents, and similar additives.
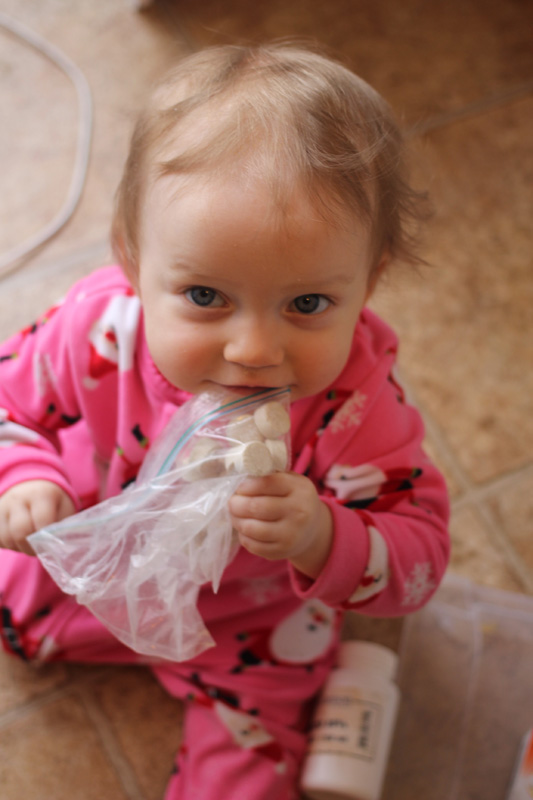
Helped.
I started heating the strike water, added campden and my salts. This was an adventure, as my poor six gallon pot was already absolutely full. Naturally stirring (even gently) caused a little loss.
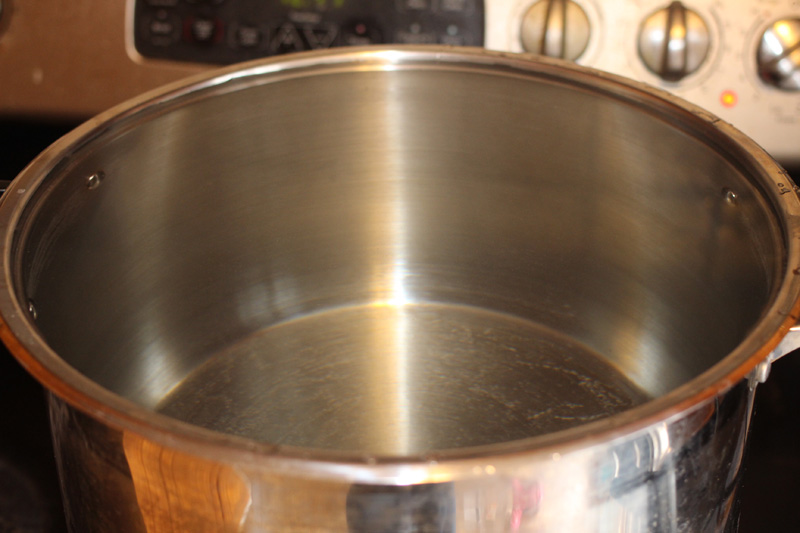
Absolutely filled to the brim.
I then cut the top off of the trash bag that the LHBS had placed my crushed grains inside of. When I went to pour, I naturally poked a hole in the side, spilling a small amount on the ground. Yes, Virginia, it's going to be one of those days. Oh, well. The kitchen floor was pretty clean, and this was preboil, anyway.
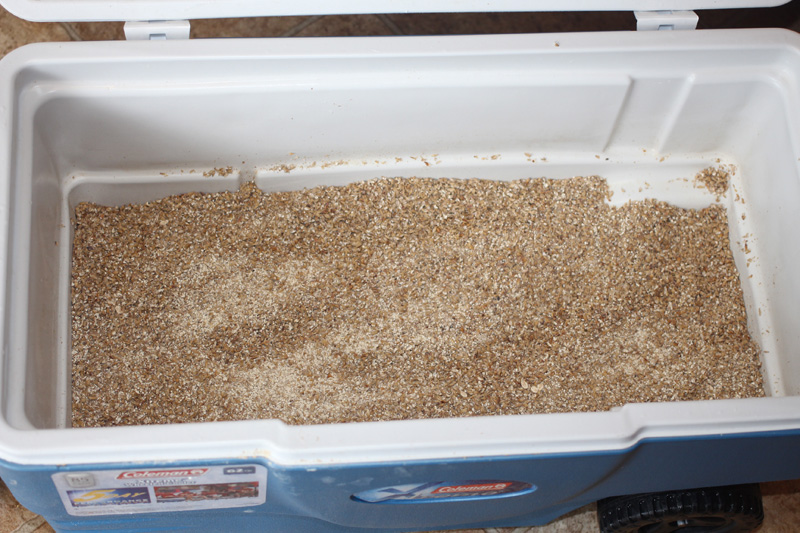
Almost seventeen pounds of deliciousness. Possibly some floor grit.
Now, let it be known that I am a silly person. Wise people stir their grains into the water; I do it the other way around. That may change in the future, however. I dumped my water in (spilling only the tiniest amount and *not* scalding my feet - maybe this will be a good day, after all?), which resulted in far and away the worst set of dough balls that I have ever gotten in a mash. Big (aka baseball sized or larger) ones, small (aka shooter marble sized) ones, everything in between. I'd stir, stir, find another dough ball, smash it, stir, repeat. Over and over.
The last time I brewed, I got my worst efficiency ever; I had emailed my LHBS to let them know that I thought the crush was a little coarse. I wonder if they double milled my grains this time to make up for that; I saw way more flour than I am accustomed to, and as a result, the dough balls were just NUTS.
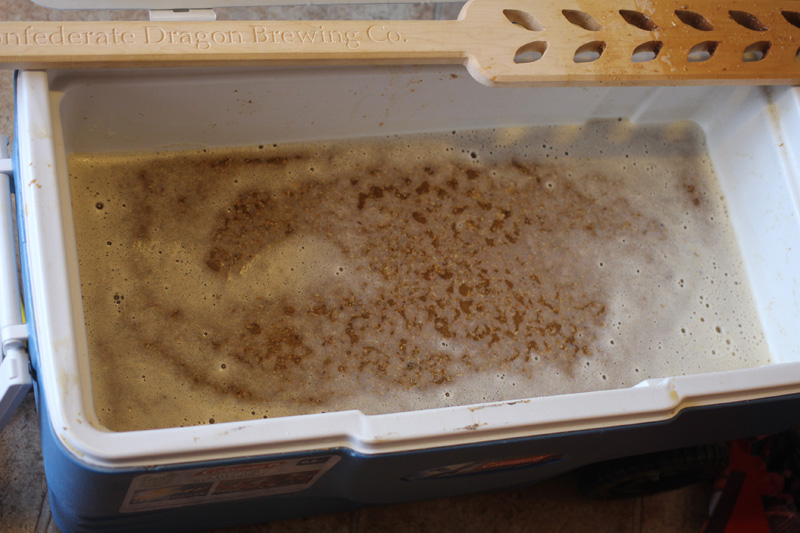
Here there be monsters. Monster dough balls, anyway.
Not surprisingly, all that stirring did nothing good for my mash temperature. My target mash temperature was 152 degrees F; after slaying the dough monsters, I was ranging from 146.4 degrees F to 147.3 degrees F. I tossed a blanket over the cooler, set my timer for the ten minute pH check, and tossed a gallon of water (with campden and ~.5 ml of lactic acid) on the stove to get as hot as possible.
Stylish!
I got the water to a boil, so pulled it off the heat. When the ten minutes were up, I added that gallon and stirred like crazy. For once, Murphy was apparently distracted; my mash temps were pretty spot on (152 degrees F - 152.7 degrees F), and my pH reading was 5.38. Considering my target was 5.41, I was quite pleased with that.
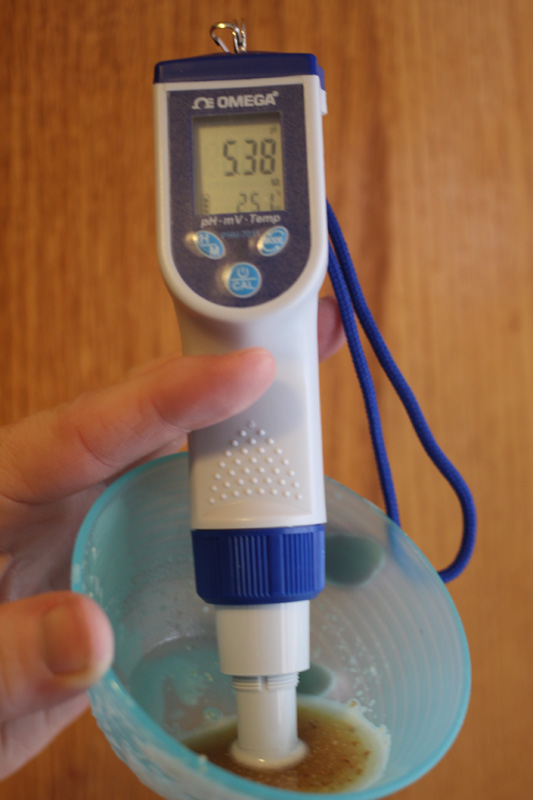
Have I mentioned that I love this meter?
I did end up losing a little more heat over a 70 minute mash than I would have liked, but nothing major. Finally, things were rolling along; it was time to vorlauf, drain, and sparge.
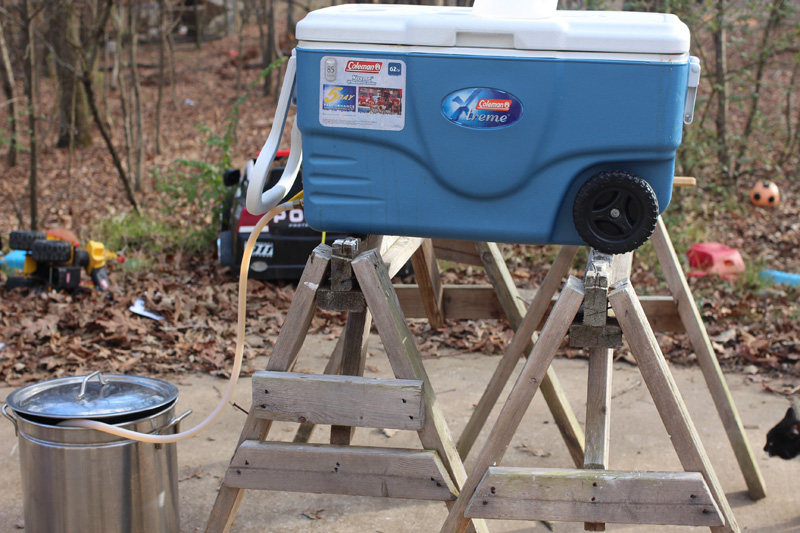
Another chance to show off my fancy gear!
The wort runoff process went pretty well. I was afraid for a moment that I had a stuck sparge, but it was just a bit slow. I brought the kids outside with me, dumped in my sparge water, then stirred like crazy. I decided to take before and after photos of the wort (without and with the cold steep addition).
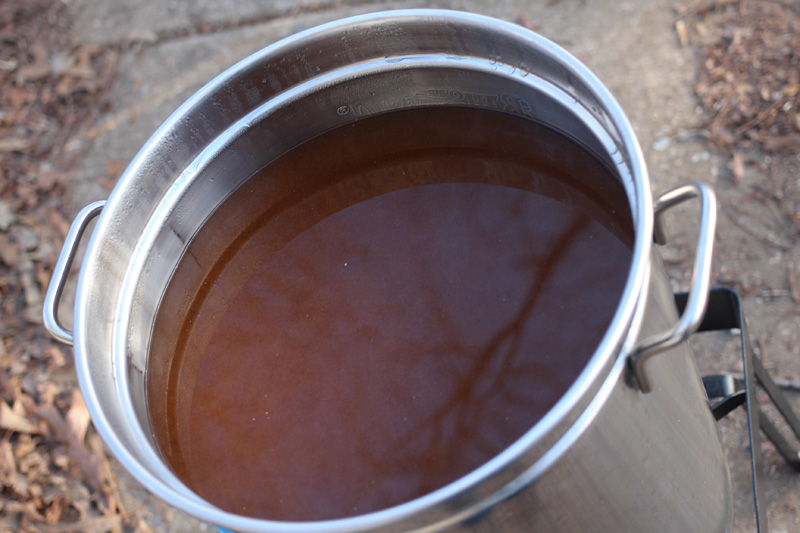
Looks like... wort?
I had been worried about how I was going to get that cold steeped liquor into my wort without getting grains in. People had suggested coffee filters and the like, but I don't drink coffee - I seriously do not own a coffee maker, filters, or any related paraphernalia. It then hit me - hey dummy, you have a grain bag from your extract (steeping grains) days. It stretched perfectly over the bucket, and worked like a charm.
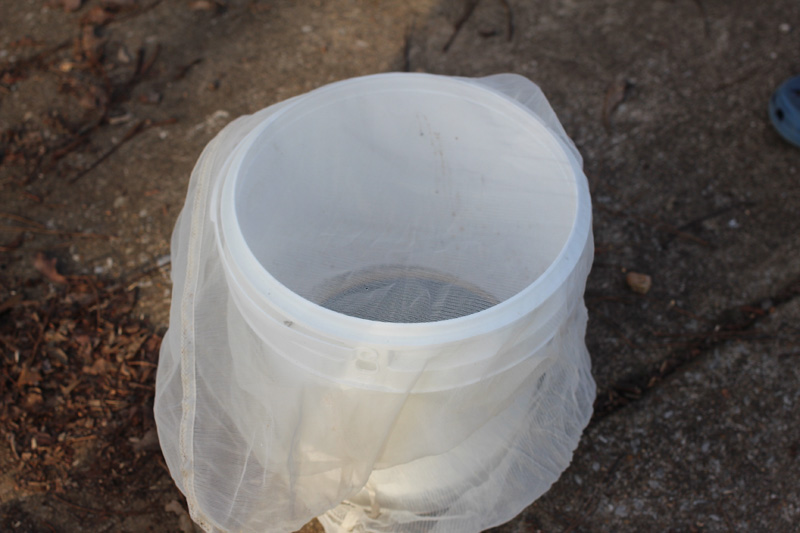
Such a complicated solution.
I then squeezed the heck out of the bag (giving myself wonderfully colored hands in the process). After stirring, the difference in color was definitely noticeable; man, do I hope that this translates favorably to the final beer!
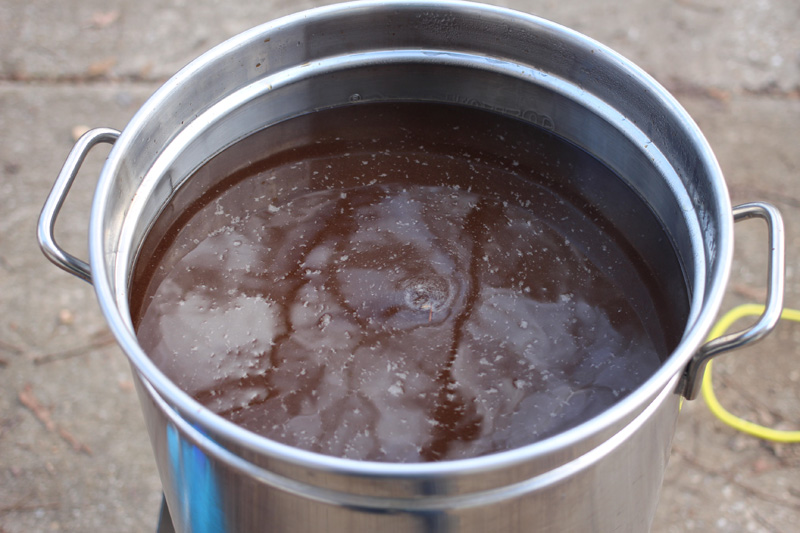
Looks delicious-er.
Just an aside - it felt funny not adding first wort hops. It seems like almost everything I brew of late uses this technique, which I'm a huge believer in... but this isn't a hop forward beer, so I skipped that step this time around, instead using a normal 60 minute bittering addition of Challenger hops. As always, my brewing buddies (Jonah, age five, Silas, age three, Noah, age seven) took over the actual administering of the hops.
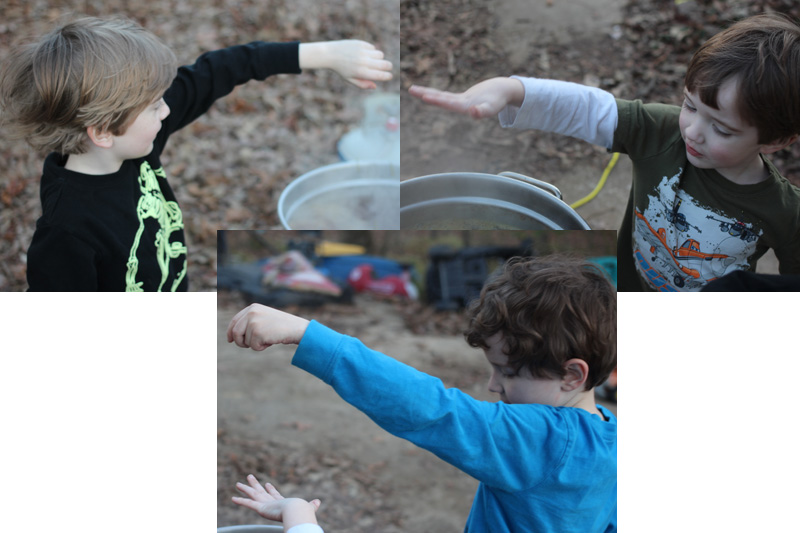
Step back. These guys are professionals.
Partway through the boil, it hit me - you are supposed to make our cold steep addition near the END of the boil, not the beginning, if the point is to cut down the roasted flavors as much as possible. Whoops!
I had another exciting moment when, right around the forty minute mark, I was weighing my 20 minute hop addition... and realized that I had left off part of the 60 minute bittering charge. D'oh! Frantically, I weighed out what I had (fortunately, there was a bit extra), so I did an unexpected thirty-eight minute boil addition of Northdown. At twenty minutes, we did another Northdown addition, after which I came in to weigh out my Fuggles for the ten minute addition... and realized that, in my hurry, I had grabbed the wrong baggie. Yep, all of my Fuggles were already in the kettle; my remaining baggie was actually the higher alpha acid Northdown.
#&$*!!!
Oh, well. Northdown at finishing it would be. Noah helped me put the chiller, the Northdown, and the whirfloc in at ten minutes. Fortunately, chilling went well - I was down to 71 degrees F in under six minutes with my Hydra immersion chiller. I then set the wort aside, and went inside to cook tacos and watch the Walking Dead.
Later that evening, it was time to split the wort. First, I floated my hydrometer in the kettle (sorry, I no longer take samples... this way is just so easy). The reading was 1.076, with a target OG of 1.070, and I had NAILED my volume. It would seem that my suspicions about the amount of flour in this crush may have been correct! I stirred the heck out of it with a sanitized spoon in an effort to keep the trub concentration as uniform as possible, then started the dump to the carboy.
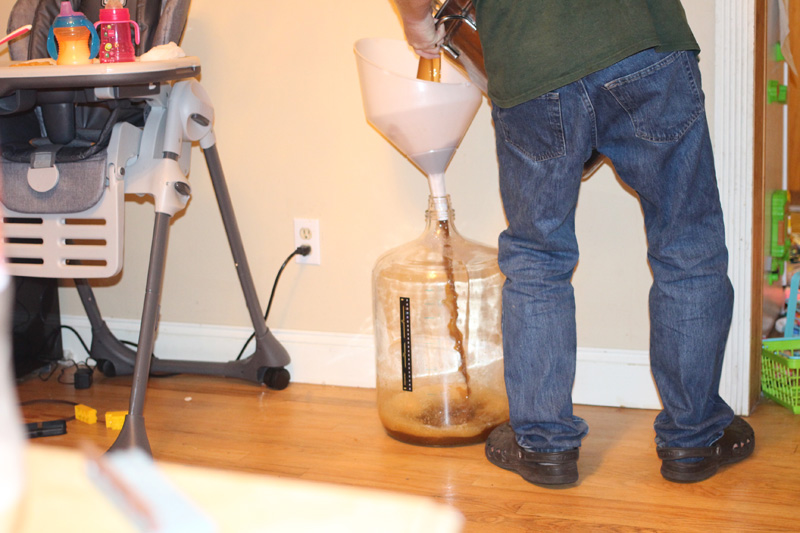
Go ahead, enjoy that baggy jeans view. I understand.
Every couple of gallons, I stopped to stir again. Halfway through, I poured wort to the bucket, then finished topping off the carboy.
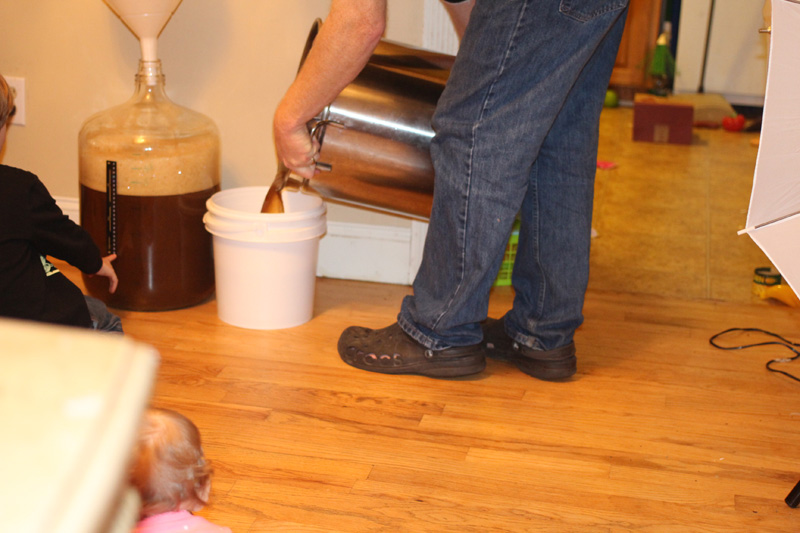
Sorry, just ankles this time.
I was afraid that my O2 canister was going to run out, but I was able to give both fermentors a nice shot of oxygen. This might be purely anecdotal, but once I moved to pure O2 for aeration, I noticed decreased lag times and improved beers. Unless something changes, I just don't see me ever going back to room air for this job.
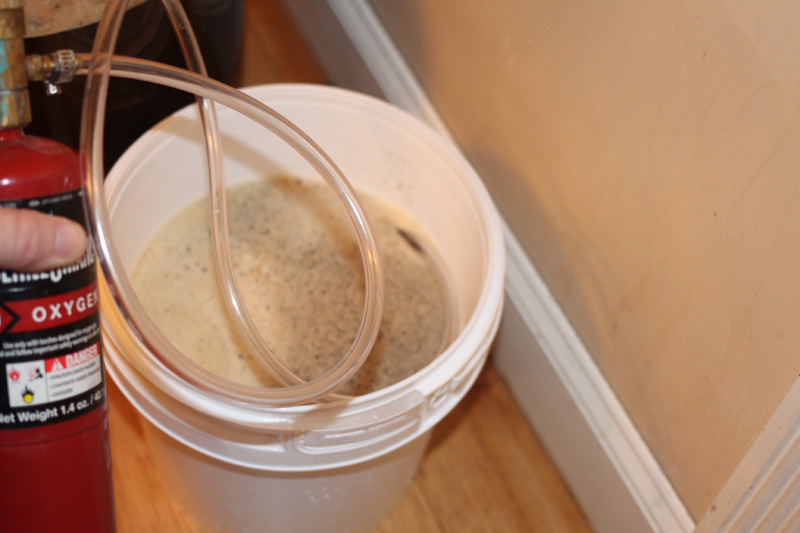
Now, to replace the tubing so that I can use my aeration wand...
Finally, the brewday was done. I placed the bucket in the upstairs bathroom, then dropped my sanitized STC-1000 probe into the carboy and placed it inside my fermentation chamber. If all goes well, in five weeks, I'll have some excellent (if slightly different than intended) beer. As to whether the batches will be different? Well, I will be sure to report back and share my findings.
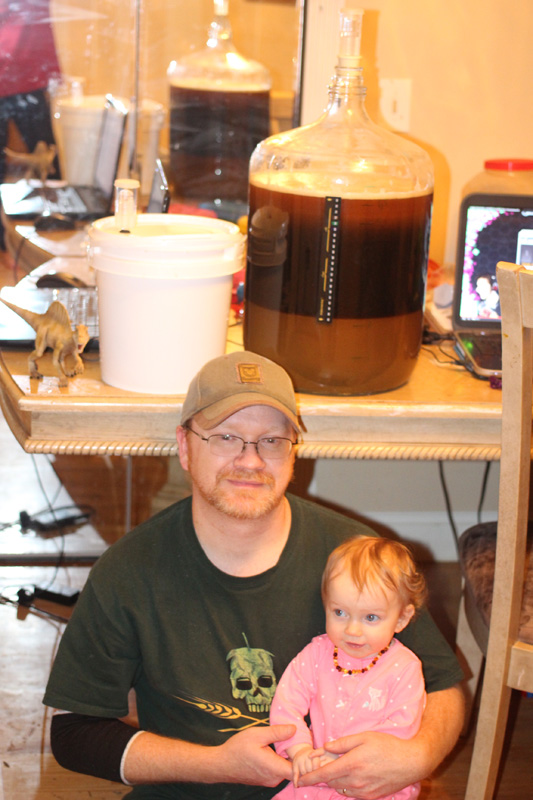
The end of a successful brewday, with brewing buddy. The baby, not the dinosaur!
Permalink
Tags for this post: brewday, Irish red, ale, brewing, cool steep, split batch, fermentation temperature
2 Comments
"I, on the other hand, am a hack. "
My motto as well!
posted by mchrispen on 2/10/2015 at 06:45:55 PM
Reading your brew day stories always makes me feel so much better about my run ins with Murphy..
posted by blur_yo_face on 2/10/2015 at 07:26:27 PM
Enchantress holds a special place in my heart, as this was the first recipe I ever designed. Back then, it started out as a partial mash, and it has evolved a bit over time. I was very happy with the last incarnation of the beer, save one small item - it had a brick red color, where I would really prefer for it to be more of a vibrant red. So naturally, I decided to start fiddling with the process again. This time around, I would completely remove the small amount of carafa III special I had used in the past, and instead, up my roasted barley ever so slightly. Also, I settled on the idea of cold steeping that roasted barley in an effort to smooth out the roastiness it might contribute; honestly, I want that beautiful red color from it, but little else.
This past Christmas, I got a couple of two gallon fermentation buckets. So far, I have used them for small batch stuff, but I had made up my mind that going forward, I wanted to do split batching for pretty much every brewday. After all, it is literally no more effort to brew an extra gallon or so, and gives a great chance to experiment with small changes that would otherwise require another complete brew. However, I couldn't seem to settle on a good idea for splitting this batch.
I toyed with the idea of a different yeast strain - perhaps WLP028 (Scottish ale), or one of the English strains - to contrast with my reliable WLP004 Irish ale, but the idea just didn't appeal to me very much. This beer is not dry hopped, so there was nothing to do there... though I suppose that I could have dry hopped just to see if I enjoyed it. I fielded some suggestions on the forums and the charter member email list, but they largely centered around different boil processes (different hopping schedules, cold steep versus traditional mash, etc), and I'm just not set up to do two boils right now.
Finally, a simple, obvious choice jumped out at me - why not ferment the two at different temperatures? You may have read the recent Brulosophy exBEERiment where Marshall did just this with WLP029 (Kolsch) yeast, and found that the differences were almost nil. One of my biggest concerns about that one was that Kolsch yeast is, by definition, quite clean. While WLP004 isn't necessarily the biggest ester bomb in the world, it is still a more expressive strain; this just seemed like a great fit. Therefore, my mind was made up - I would split this batch, and in doing so, perform the very first Homebrew Dad exBEERiment.
Before I go much farther, please note something - Marshall does a great job in applying scientific rigor to his experiments. He does his level best to isolate one single variable for testing - otherwise, the beers in question are exactly the same. He'll do a ten gallon batch, divide it evenly into two identical fermentors, and treat them otherwise exactly the same. He then tests his results via blind triangle tests where the testers usually don't even know the nature of the variable they are testing.
I, on the other hand, am a hack. I bumped this batch size up to seven gallons; my normal five and a half gallons would go into a glass carboy, to be placed in my fermentation chamber (mini fridge with an STC-1000 temperature controller) set to 65 degrees F. The other gallon and a half would go into one of my two gallon plastic buckets, where I would place it in a bathroom that normally sits at 68 degrees F to 70 degrees F ambient temperature, which should allow actual fermentation temperatures to fluctuate between, say, 72 degrees F and 76 degrees F (or so). I may well be the only person that tastes these beers, though I will at least get my son to pour them for me so that I don't know which is which.
That's it. Yes, fermentor construction and geometry are different. It shouldn't matter, but who knows? It might affect things. There are surely other concerns - how will I ensure the same level of aeration, how will I ensure the same levels of trub, and surely other items I haven't thought of. Furthermore, you'll only get my opinion, which is far from statistically significant. In reality, the best that I can hope for is to provide a single data point - but I'm hoping that if we collect enough of these, we'll be able to make better determinations on this issue in the future.
Enough of my rambling, let's get to the brewday itself!
Saturday night, I realized that I was already well on my way to a typical Olan brewday; I had forgotten to cold steep my roasted barley. Whoops. Fortunately, this was a simple process; I ended up using a quart of ~90 degree water for my five ounces of roasted barley (which is a bit more water than I needed, I know). I treated this with pinch of campden dust, then stirred the grains in. The process yielded muddy brown water that smelled remarkably like coffee. I sealed the bucket and sat it to the side.

Looks delicious.
It was then time to cold crash my starter. The 5l flask does not fit in my new yeast fridge (a 1.3 cubic foot model), and my wife would likely end me if I tried to cram that thing into the main fridge. I can fit it into my fermentation fridge in the basement, but I am trying (likely for no reason but my questionable sanity) to segregate all of my yeast activities to the one designated fridge.

Size does matter.
However, I had a solution discovered back when I was helping my son with his science project - 2 liter soda bottles are great for yeast storage while chilling. Since my starter was a hair over 3 liters, I went ahead and sanitized two such bottles, then divided the yeast between them and stuck them into the mini fridge.

High tech yeast storage.
Sunday came, and my wife left to go meet her sister and mother for lunch, shopping, and assorted girl time. My wife is pretty supportive of my brewing, but hates the smell of it, so she tries to coordinate girl time with brewdays. She had been planning to take miss Wynter (the baby) with her, but the little bundle of joy hadn't woken up by the time my wife needed to leave, and we have learned that waking a sleeping baby unnecessarily is a good way to deal with a crabby baby for a while.
Naturally, the baby was up within ten minutes of my wife leaving. Naturally, the baby was crabby, anyway.
So I put brewing off for a bit to fetch a cup of strawberry milk, grab some toys, and apply some tickles. After a bit, Wynter finally decided that she was okay, so I started bringing my gear upstairs. Wynter helped me organize my box of brewing salts, fining agents, and similar additives.

Helped.
I started heating the strike water, added campden and my salts. This was an adventure, as my poor six gallon pot was already absolutely full. Naturally stirring (even gently) caused a little loss.

Absolutely filled to the brim.
I then cut the top off of the trash bag that the LHBS had placed my crushed grains inside of. When I went to pour, I naturally poked a hole in the side, spilling a small amount on the ground. Yes, Virginia, it's going to be one of those days. Oh, well. The kitchen floor was pretty clean, and this was preboil, anyway.

Almost seventeen pounds of deliciousness. Possibly some floor grit.
Now, let it be known that I am a silly person. Wise people stir their grains into the water; I do it the other way around. That may change in the future, however. I dumped my water in (spilling only the tiniest amount and *not* scalding my feet - maybe this will be a good day, after all?), which resulted in far and away the worst set of dough balls that I have ever gotten in a mash. Big (aka baseball sized or larger) ones, small (aka shooter marble sized) ones, everything in between. I'd stir, stir, find another dough ball, smash it, stir, repeat. Over and over.
The last time I brewed, I got my worst efficiency ever; I had emailed my LHBS to let them know that I thought the crush was a little coarse. I wonder if they double milled my grains this time to make up for that; I saw way more flour than I am accustomed to, and as a result, the dough balls were just NUTS.

Here there be monsters. Monster dough balls, anyway.
Not surprisingly, all that stirring did nothing good for my mash temperature. My target mash temperature was 152 degrees F; after slaying the dough monsters, I was ranging from 146.4 degrees F to 147.3 degrees F. I tossed a blanket over the cooler, set my timer for the ten minute pH check, and tossed a gallon of water (with campden and ~.5 ml of lactic acid) on the stove to get as hot as possible.

Stylish!
I got the water to a boil, so pulled it off the heat. When the ten minutes were up, I added that gallon and stirred like crazy. For once, Murphy was apparently distracted; my mash temps were pretty spot on (152 degrees F - 152.7 degrees F), and my pH reading was 5.38. Considering my target was 5.41, I was quite pleased with that.

Have I mentioned that I love this meter?
I did end up losing a little more heat over a 70 minute mash than I would have liked, but nothing major. Finally, things were rolling along; it was time to vorlauf, drain, and sparge.

Another chance to show off my fancy gear!
The wort runoff process went pretty well. I was afraid for a moment that I had a stuck sparge, but it was just a bit slow. I brought the kids outside with me, dumped in my sparge water, then stirred like crazy. I decided to take before and after photos of the wort (without and with the cold steep addition).

Looks like... wort?
I had been worried about how I was going to get that cold steeped liquor into my wort without getting grains in. People had suggested coffee filters and the like, but I don't drink coffee - I seriously do not own a coffee maker, filters, or any related paraphernalia. It then hit me - hey dummy, you have a grain bag from your extract (steeping grains) days. It stretched perfectly over the bucket, and worked like a charm.

Such a complicated solution.
I then squeezed the heck out of the bag (giving myself wonderfully colored hands in the process). After stirring, the difference in color was definitely noticeable; man, do I hope that this translates favorably to the final beer!

Looks delicious-er.
Just an aside - it felt funny not adding first wort hops. It seems like almost everything I brew of late uses this technique, which I'm a huge believer in... but this isn't a hop forward beer, so I skipped that step this time around, instead using a normal 60 minute bittering addition of Challenger hops. As always, my brewing buddies (Jonah, age five, Silas, age three, Noah, age seven) took over the actual administering of the hops.

Step back. These guys are professionals.
Partway through the boil, it hit me - you are supposed to make our cold steep addition near the END of the boil, not the beginning, if the point is to cut down the roasted flavors as much as possible. Whoops!
I had another exciting moment when, right around the forty minute mark, I was weighing my 20 minute hop addition... and realized that I had left off part of the 60 minute bittering charge. D'oh! Frantically, I weighed out what I had (fortunately, there was a bit extra), so I did an unexpected thirty-eight minute boil addition of Northdown. At twenty minutes, we did another Northdown addition, after which I came in to weigh out my Fuggles for the ten minute addition... and realized that, in my hurry, I had grabbed the wrong baggie. Yep, all of my Fuggles were already in the kettle; my remaining baggie was actually the higher alpha acid Northdown.
#&$*!!!
Oh, well. Northdown at finishing it would be. Noah helped me put the chiller, the Northdown, and the whirfloc in at ten minutes. Fortunately, chilling went well - I was down to 71 degrees F in under six minutes with my Hydra immersion chiller. I then set the wort aside, and went inside to cook tacos and watch the Walking Dead.
Later that evening, it was time to split the wort. First, I floated my hydrometer in the kettle (sorry, I no longer take samples... this way is just so easy). The reading was 1.076, with a target OG of 1.070, and I had NAILED my volume. It would seem that my suspicions about the amount of flour in this crush may have been correct! I stirred the heck out of it with a sanitized spoon in an effort to keep the trub concentration as uniform as possible, then started the dump to the carboy.

Go ahead, enjoy that baggy jeans view. I understand.
Every couple of gallons, I stopped to stir again. Halfway through, I poured wort to the bucket, then finished topping off the carboy.

Sorry, just ankles this time.
I was afraid that my O2 canister was going to run out, but I was able to give both fermentors a nice shot of oxygen. This might be purely anecdotal, but once I moved to pure O2 for aeration, I noticed decreased lag times and improved beers. Unless something changes, I just don't see me ever going back to room air for this job.

Now, to replace the tubing so that I can use my aeration wand...
Finally, the brewday was done. I placed the bucket in the upstairs bathroom, then dropped my sanitized STC-1000 probe into the carboy and placed it inside my fermentation chamber. If all goes well, in five weeks, I'll have some excellent (if slightly different than intended) beer. As to whether the batches will be different? Well, I will be sure to report back and share my findings.

The end of a successful brewday, with brewing buddy. The baby, not the dinosaur!
Permalink
Tags for this post: brewday, Irish red, ale, brewing, cool steep, split batch, fermentation temperature


Please support BrewUnited by using our Amazon affiliate link when doing any shopping there - be it for homebrewing or for your regular shopping!
2 Comments
"I, on the other hand, am a hack. "
My motto as well!
posted by mchrispen on 2/10/2015 at 06:45:55 PM
Reading your brew day stories always makes me feel so much better about my run ins with Murphy..
posted by blur_yo_face on 2/10/2015 at 07:26:27 PM

